Article · March 20, 2026
Portrait Photography 101 — A Beginner's Guide
Portrait photography basics for beginners — camera settings, composition, lighting intro, and practical tips for shooting portraits in the Philippines.
Portrait photography captures the likeness, personality, and mood of a person or group. From corporate headshots in Makati office towers to graduation portraits in provincial universities, portraits serve personal, professional, and commercial purposes across the Philippines. This beginner's guide covers the fundamentals — enough to produce confident, well-exposed portraits before diving into advanced lighting and retouching.
What Defines a Portrait
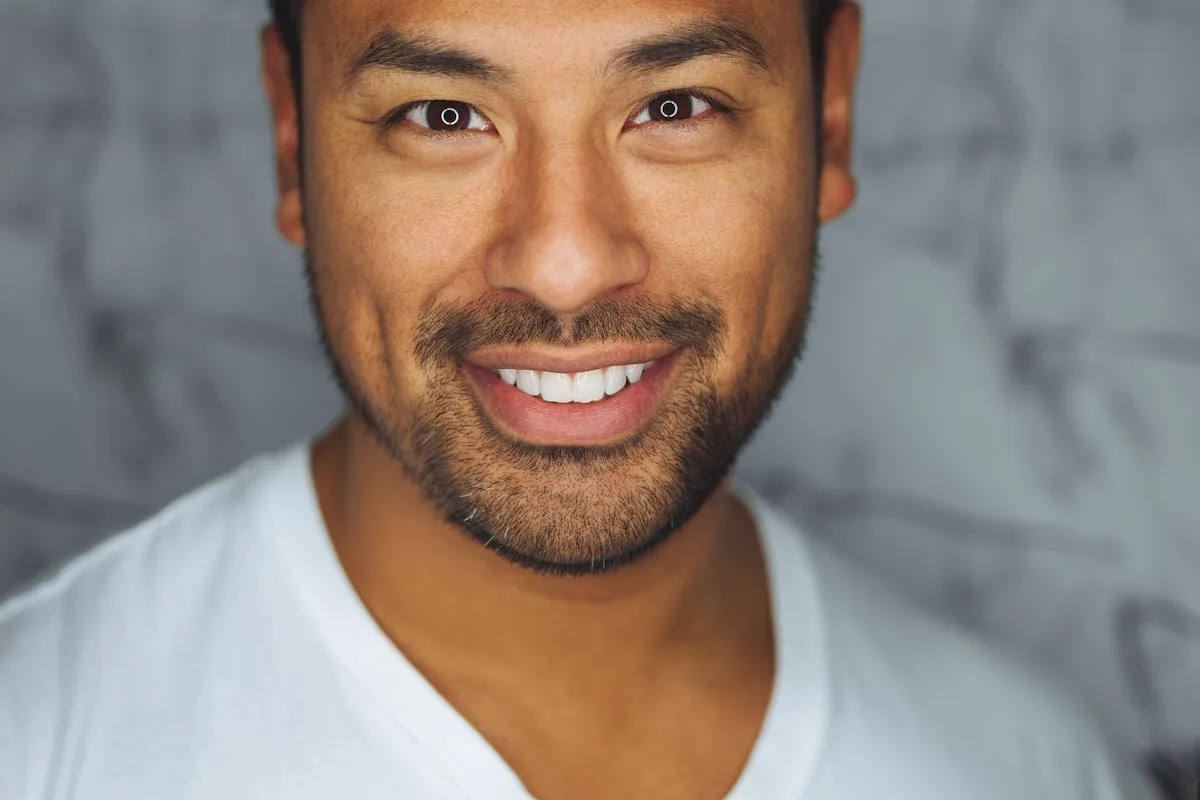
A portrait prioritizes the subject — typically face and upper body — as the primary focal point. Backgrounds may provide context but should not compete for attention. Portraits differ from snapshots by intention: the photographer controls composition, lighting, and direction to achieve a specific result.
Common portrait applications include:
- Professional headshots for company websites and job applications
- Personal branding photos for entrepreneurs and freelancers
- Family and graduation portraits
- Beauty and fashion editorial work
- Social media content for creators and influencers
Essential Camera Settings
Portrait beginners should understand three exposure variables and how they interact.
Aperture
Wide apertures (f/1.8 to f/2.8) blur backgrounds and isolate subjects. Narrower apertures (f/5.6 to f/8) keep more of the face in focus — useful for group portraits or when subject distance varies.
Shutter Speed
Avoid motion blur from subject movement or camera shake. Minimum guideline: 1/125 second for still portraits, faster for active children or outdoor wind conditions.
ISO
Keep ISO as low as lighting allows. Philippine outdoor shade often permits ISO 100–400. Indoor available-light portraits may require ISO 800–3200 on entry-level cameras — accept some noise rather than underexpose.
Focus Mode
Use single-point autofocus placed on the nearest eye. Eyes must be sharp — soft eyes ruin otherwise good portraits.
Lens Choice and Focal Length
Lens selection dramatically affects portrait appearance.
- 50mm — natural perspective, affordable, works in tight spaces
- 85mm — flattering compression for head-and-shoulders portraits
- 35mm — environmental portraits showing subject in context
- 70–200mm — versatile zoom for outdoor sessions and events
Smartphone portrait modes simulate blur but struggle in low light. Dedicated cameras with fast lenses still outperform phones for serious portrait work.
Composition Basics
Simple composition rules improve portraits immediately:
- Rule of thirds — place eyes along upper third line
- Headroom — leave appropriate space above head; avoid cutting at joints
- Leading room — if subject looks off-camera, leave space in gaze direction
- Background separation — distance between subject and background increases blur at wide apertures
Avoid merging background elements with the subject — poles appearing to grow from heads are a classic beginner mistake.
Introductory Lighting
Natural light is the best starting point for portrait beginners.
Open shade — even, flattering light without squinting Window light — directional but soft when diffused through curtains Golden hour — warm, dimensional light during first and last hour of daylight
When natural light is insufficient, a single speedlight bounced off a white ceiling or wall provides soft fill without complex setups.
Avoid harsh midday sun unless intentionally creating dramatic high-contrast portraits. Philippine tropical sun at noon produces unflattering shadows under eyes and noses.
Directing Your Subject
Most portrait beginners focus on camera settings while ignoring the human element. Subjects feel awkward because they lack direction.
Helpful prompts:
- "Turn your shoulders slightly away from me"
- "Chin down just a little"
- "Look toward the window and then back to me"
- "Take a breath and relax your shoulders"
Talk throughout the session. Silence increases tension. Show subjects preview images when possible — seeing good results builds confidence and better expressions.
Common Beginner Mistakes
- Shooting from too far away and cropping heavily in post
- Focusing on nose instead of eyes
- Busy, distracting backgrounds
- Over-processing skin until it looks plastic
- Forgetting to check for flyaway hairs and wardrobe malfunctions before shooting
Build a pre-shoot checklist and review it before pressing the shutter.
Next Steps for Growth
After mastering basics, expand into:
- Dedicated portrait lenses (85mm f/1.8)
- Off-camera flash and modifier systems
- Retouching workflows in Lightroom and Photoshop
- Specialized niches — corporate, beauty, editorial
Portrait photography improves through repetition. Practice with friends and family before charging clients. Study portraits you admire and analyze their lighting, composition, and posing. The fundamentals in this guide provide the foundation — experience builds the craft.